|
I love finding ways to make my literacy groups fun. The best activity I've used recently is word mapping/orthographic mapping with Magnetic Wands and Chips. The kids are always excited to practice segmenting and writing the words in our decodable text when we use these.. I have a list of directions for small group planning below.
Small Group Planning:
1. Choose a decodable book that is adequate for your group's reading level
2. Create a list of words that focus on the phonics skills you've been working on 3. Practice phonemic awareness skills by blending the phonemes on the word list (tell students the sounds orally and then have them blend and say the whole word without seeing the letters). 4. Use the wands and chips for segmenting and spelling practice
6. Once you have finished blending, segmenting, writing, and reading the words, you are ready for your decodable text! **Tip: Don't be afraid to make corrections if students misspell a word or if they don't use the correct letter formation. It will help them remember the skill in the future!
Here are the wands and chips I used for the lesson with my class:

*Please note: As an Amazon Associate I have the possibility to earn from qualifying purchases
I have found this to be a very effective way to support my students at all levels. I hope you feel the same!
Please do not hesitate to reach out with any questions!
0 Comments
Social Emotional Support
After the craziness of Covid over the last few years, I have noticed that my students need social emotional support more than ever.
One thing I am focusing on with my class this year is how to identify how they are feeling and regulate their emotions. We are using both The Zones of Regulation and Choose Love programs to help students with this. Zones of Regulation
We just started using the Zones of Regulation in my class this year and it has been a great tool for students to express how they are feeling. Here's a poster that gives examples of each zone:

When students are in the blue, yellow, or red zone, they may need a few minutes to calm down and get back to the green zone. This is where our calm down corner comes in.
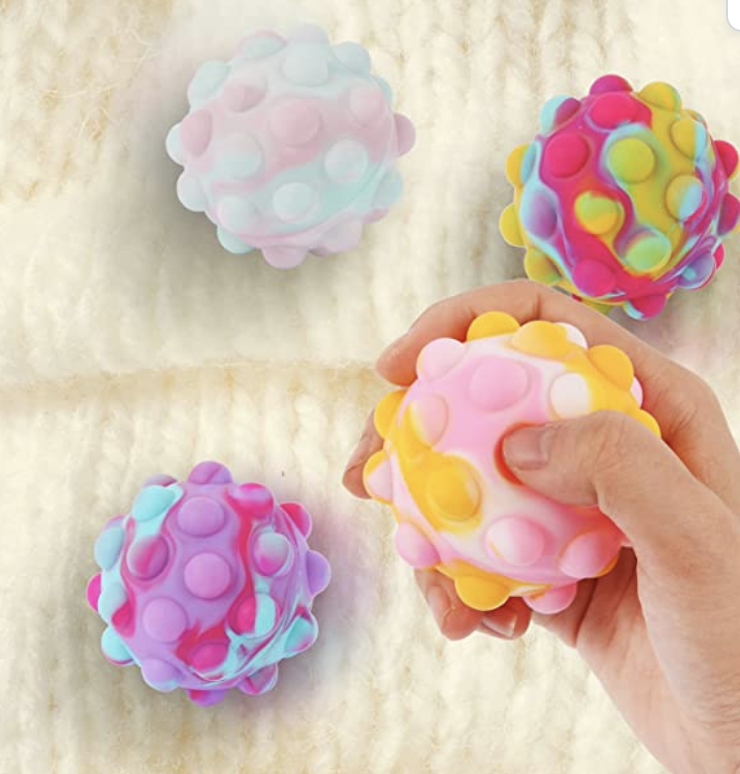
Calm Down Corner
If I notice students need a few minutes to calm down, they can spend up to 5 minutes in the Calm Down Corner. This gives students a few minutes to breathe, get their minds off of whatever is upsetting them, and get refocused to return with the rest of the class.
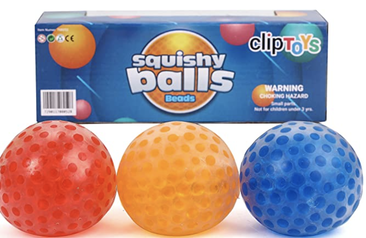
Here are some of the items I have available for my students to use:
*Please note: As an Amazon Associate I have the possibility to earn from qualifying purchases
I like to provide my students with books that will help them focus on different breathing techniques too. Here are a couple of examples:
I also let the students set a timer for 1-5 minutes so they can take control of their time while they are calming down. This clock is great because students can see exactly how much time is remaining before they need to rejoin the class. They are also able to set the timer on their own so you do not have to stop teaching to help them.  My Zones Book
If you use The Zones of Regulation in your classroom, this resource may be helpful to you. Students can draw how they look when they are in the blue, green, yellow, and red zone. Then they can brainstorm ways to get back into the green zone if they are having a challenging day.
**This file is an independent product and is not affiliated with, nor has it been authorized or sponsored by Think Social Publishing, Inc. or by Leah Kuypers, author of The Zones of Regulation.
Here is the official website if you are interested in learning more about the curriculum.
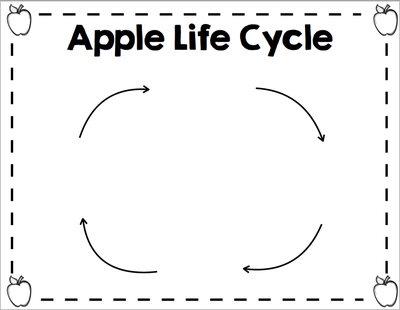
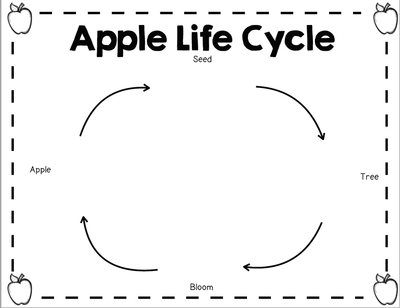
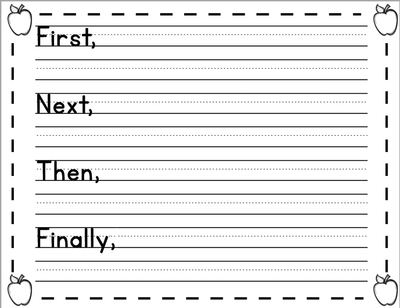
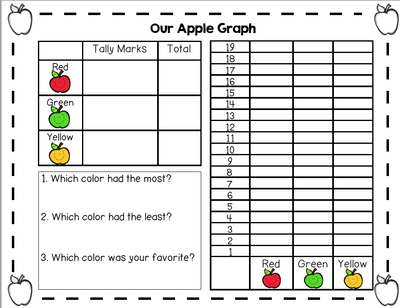
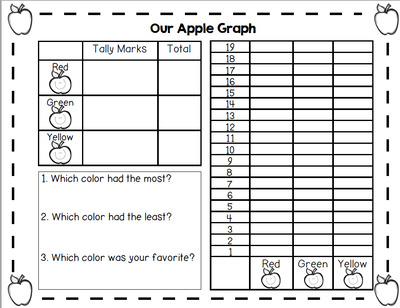
What types of things do you do to promote mindfulness and emotional regulation in your classroom? I would love to hear your ideas in the comments!  Each year in September, I do an Apple Unit with my class. My students always have so much fun throughout this unit because there are so many hands-on activities and they can make so many connections to what we are learning about! When starting out the unit, I love to read fiction and non-fiction books about apples with my class. Here are some of my favorites... 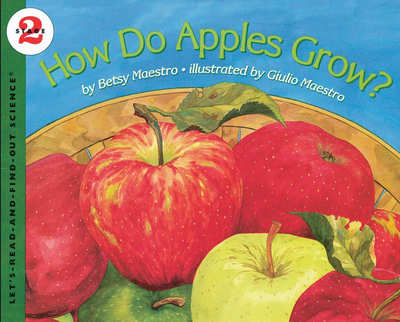 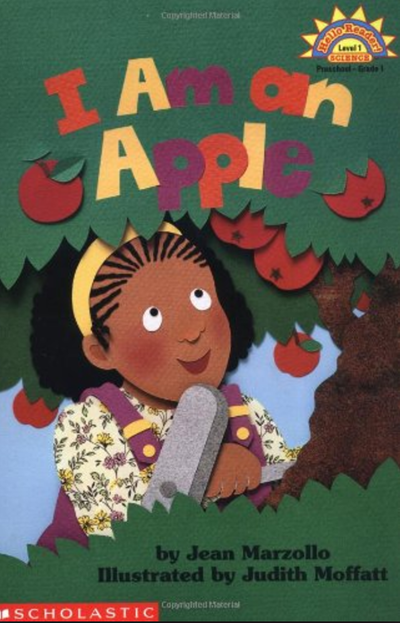 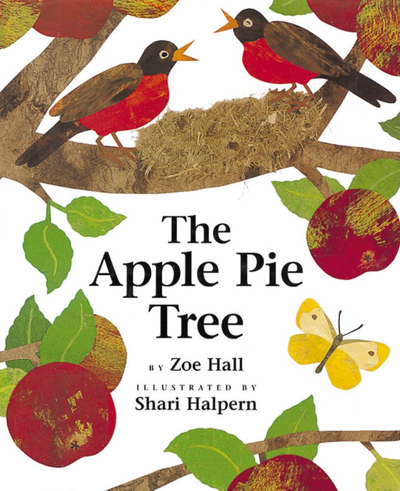 *Please note: As an Amazon Associate I earn from qualifying purchases I also like to share videos about the apple life cycle with my students so that they can have a visual of the process... After reading books and watching videos about the apples, my class and I create an anchor chart to show each stage of the life cycle. Then, I let my students create their own diagram with the different stages (pictured below). After my students draw their pictures for each stage of the apple life cycle, they can write about what happens in each stage. This can be used as an expository writing assignment, or as an assessment to see if students understand the process of the life cycle. Then, I let my students glue their life cycle and their writing onto large pieces of green, red, and yellow construction paper to display in our hallway :) In the beginning of the year, sentence structure and handwriting are a large focus for my writing block. So, I created apple sentence cards to unscramble as a class. Then, once we put the cards in the correct order, my students write and illustrate the sentences. **You can laminate the cards and use them as a center for students as well!** 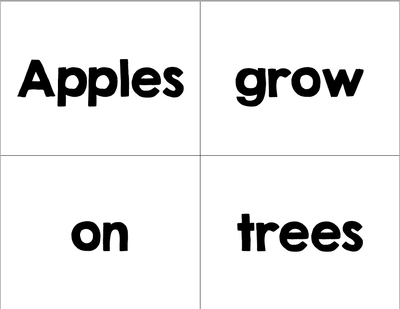  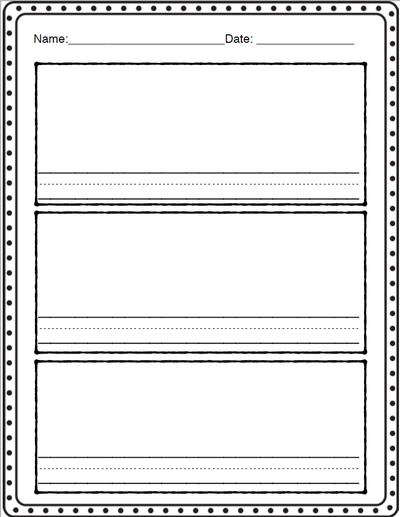 To continue our apple unit, my students complete apple investigations! I pass out half of an apple to each student for them to investigate. Click on the picture below to grab my apple investigation freebie!! 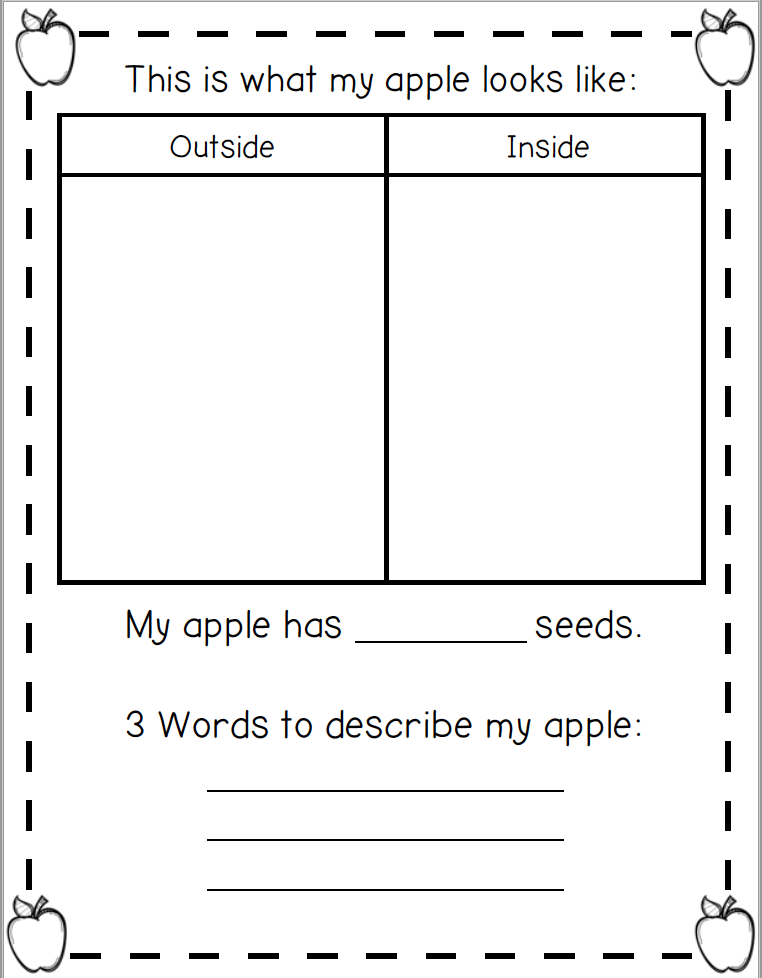 After investing the apple, I give my students pieces of red, yellow, and green apples to taste and compare. Then, I ask my students to vote on which type of apple is their favorite. I create an anchor chart to display each of my students' votes (included in unit). Then, my students create a data sheet and graph the information from our survey. After my students have decided on their favorite type of apple, I use this as an opportunity to practice opinion writing and have my students tell me why they like their favorite type of apple the best. I have my students complete a graphic organizer. Then, I conference with my students and check for capitalization, spacing, and punctuation before my students write their final draft. Two types of graphic organizers are provided for scaffolding purposes! 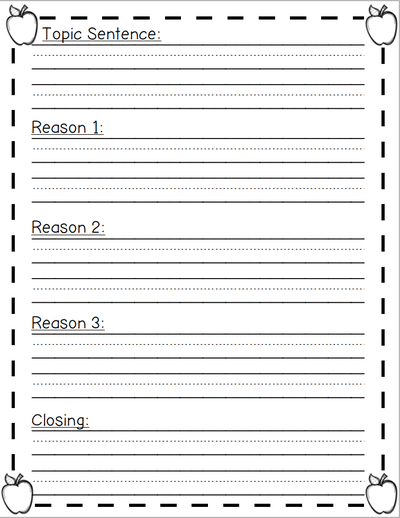 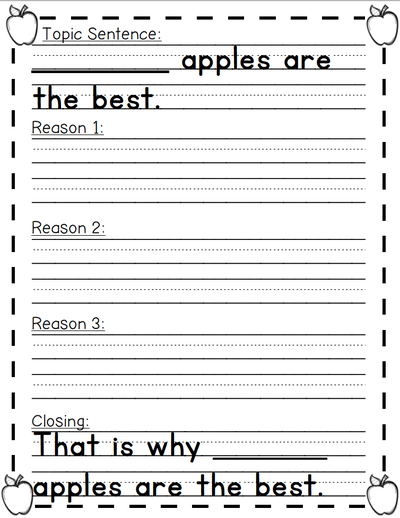  I hope your class enjoys this apple unit as much as mine did!! Please let me know if you have any questions! :)
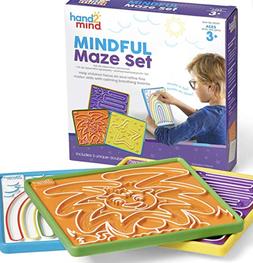
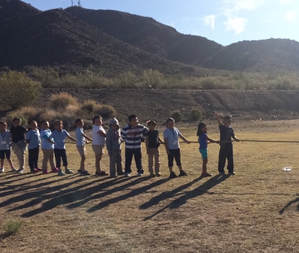
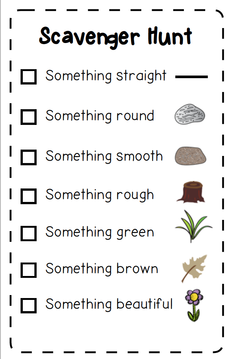
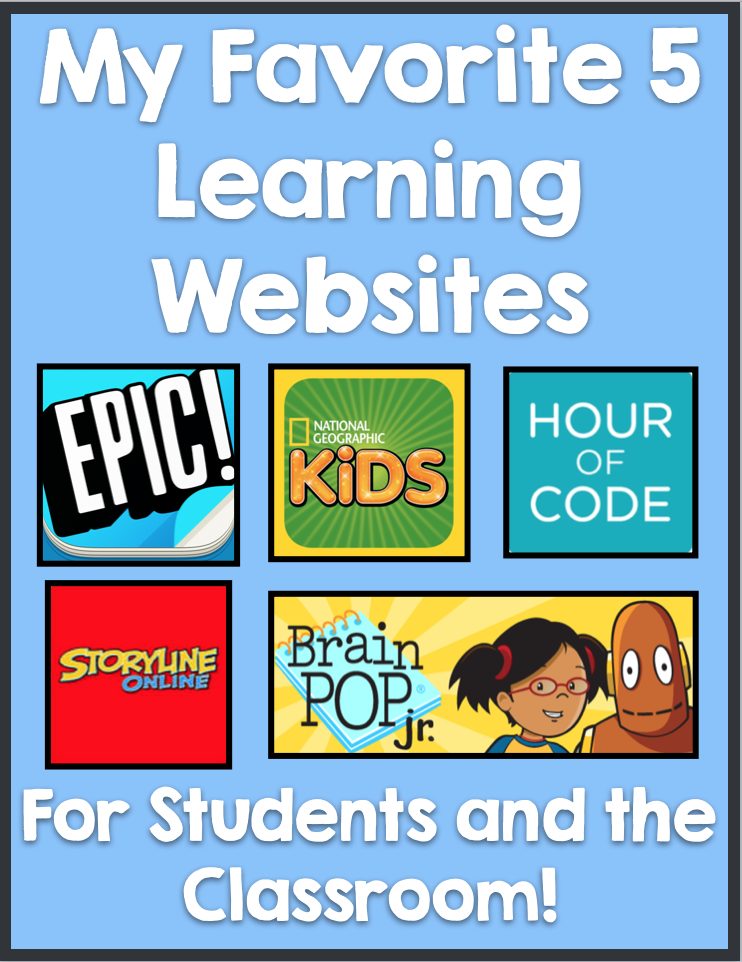 1. EPIC! EPIC! is one of my favorites! On this website, teachers can create student profiles and choose levels and topics for students to read about. There are so many free books to choose from, both fiction and nonfiction. They also have read aloud options for some of the books. My students love to read the books during their computer time and it helps them build their comprehension skills. I love to display the books on my SmartBoard so my students can read along with me when we are learning about different nonfiction topics. If you don't already have an Epic account, I highly recommend getting one! 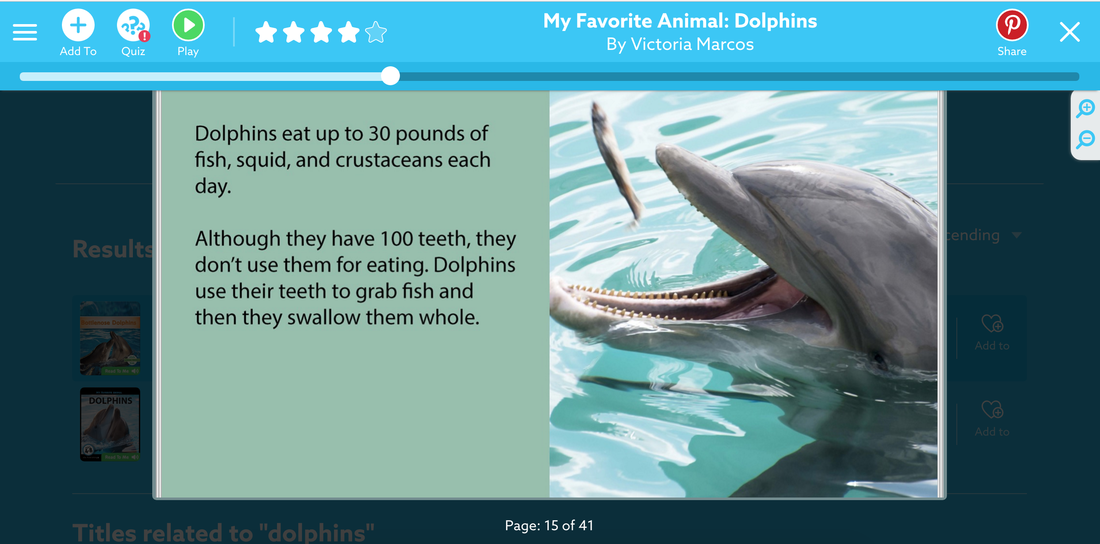 2. BrainPOP Jr. BrainPOP Jr. is another great resource that I love to use in the classroom. There are so many kid friendly videos to share with the class about science and social studies topics, reading, writing, and math. It's a great way to reinforce the different things we are learning about each week. **In order to access all of the videos on BrainPOP Jr., you do need to have a paid subscription, but there are free featured videos each week that usually correlate with science and social studies themes that are taught throughout the year. 3. National Geographic Kids National Geographic Kids is great tool for science and social studies lessons. This website includes games, videos, and articles to teach students about many different topics. My students love to see the pictures and hear interesting facts about the animals we learn about throughout the year.  4. Storyline Online My students love when we have guest readers come into our classroom. On this website, there are videos wonderful picture books being read by celebrities that the students might recognize! Share this website with parents so that students can listen to different stories at home, as well!  5. Hour of Code So this website is really cool. This is an introduction to computer science for students of all ages, showing that anyone can learn the basics of coding. My students love this because it's pretty much a maze with Angry Birds! 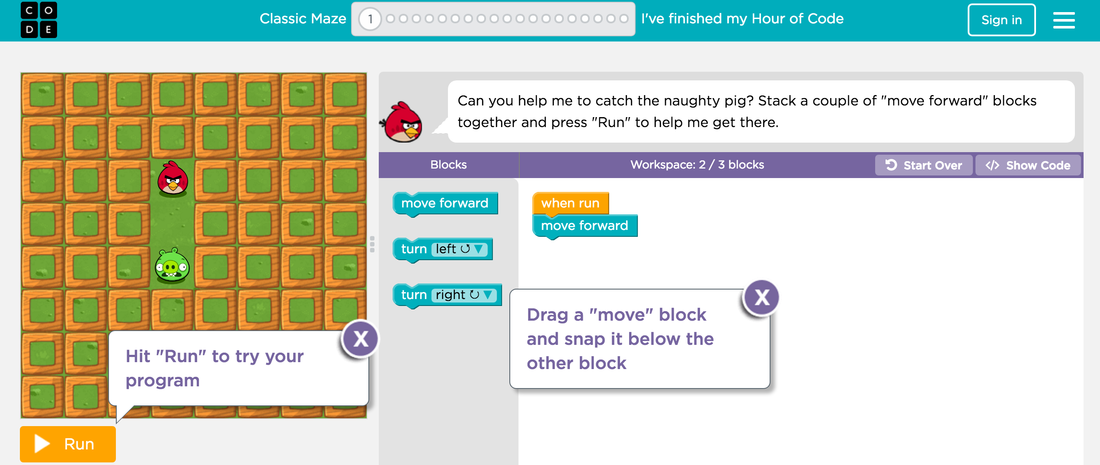 What are your favorite learning websites in your classrooms? Please share in the comments below. I would love to check them out! :)  We weren't able to plan a second field trip for the spring, so we decided to do a nature walk with our first graders. We are lucky enough to have a big field across the street from our school, so we got bagged lunches, had a picnic, and let our students explore. They had a blast! To start out the day, we gave our students a checklist for a scavenger hunt. Before letting them explore, we discussed different items that could be straight, round, smooth, etc. Then we gave our student brown paper bags to collect what they found.
After our students found all of their items, they got the chance to share what they found with the class, and then write about it in nature journals. The nature journal is a foldable book that has a page to write about what they saw, heard, found, and their favorite part of the activity. There are also blank pages for students to expand their writing.       I let my students glue some of the things they found into their journals, too. Here is an example: 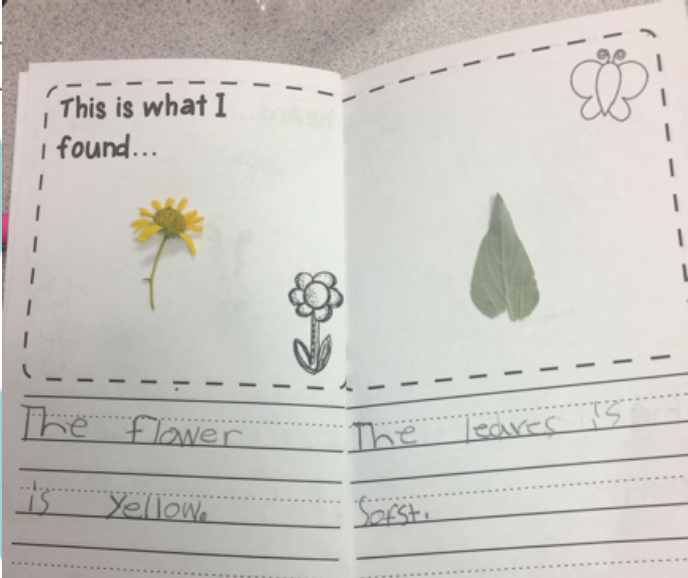 For my students who finished early, I created another writing activity for them to do. For this activity, students were asked to use what they found on their scavenger hunt to create a picture and write about it. They were so creative and had so much fun writing about their pictures!  I hope your class has as much fun as we did! :)
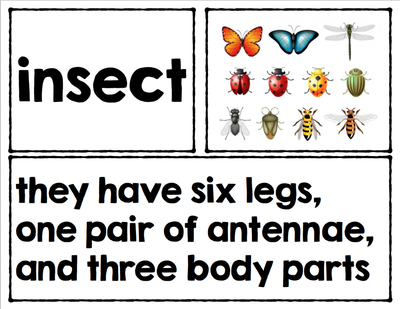
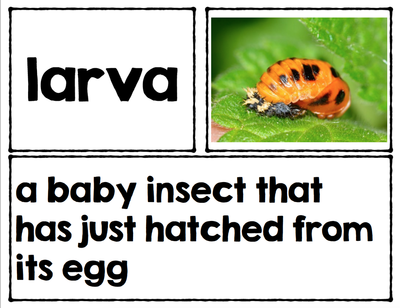
Right after spring break, our students each get a caterpillar and learn about the butterfly life cycle. This is always the best time of the year! Then, throughout April, we further their learning through an insect unit, where our students get to learn about many different types of insects. I decided to create some activities to use when we start the unit!  To start out the unit, I had my class read a passage about insects as a class. I usually ask my students to echo read the passage with me the first time around, while we discuss different vocabulary words. Then, I ask my students to read the passage another time with partners. After reading the passage, we go through and answer the questions together and then highlight where we found the answers in our text. 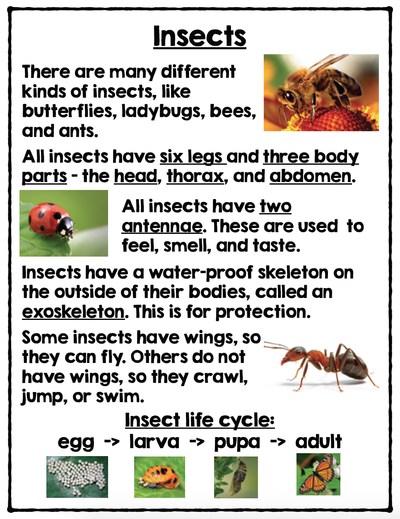 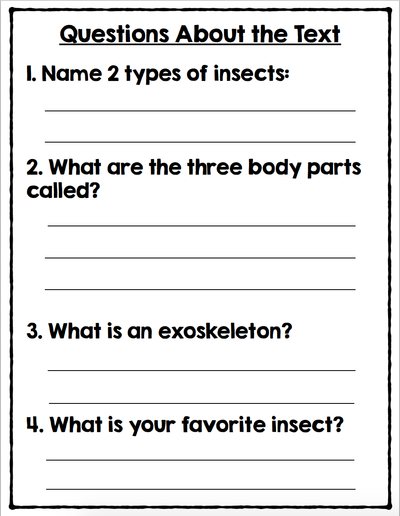 I also developed vocabulary cards that I keep in a pocket chart on our vocabulary wall. The words I chose for the vocabulary cards are ones that I knew would come up a lot while learning about different insects. This made it so that I could keep the cards up for the whole month, and just add other words that relate to specific insects when we are learning about them. Keeping the vocabulary words up on the wall with pictures helps students recognize the words more while they are reading and they can use the words in their writing, as well. Here are some examples of the vocabulary cards. You can use these in a pocket chart as a matching game with the picture, word, and definition, too! For Read Across America, our school has a door decorating contest! My class decided to do Oh the Places You'll Go. You can get the book here. My class had so much fun with this activity, and we tied for first place! :) 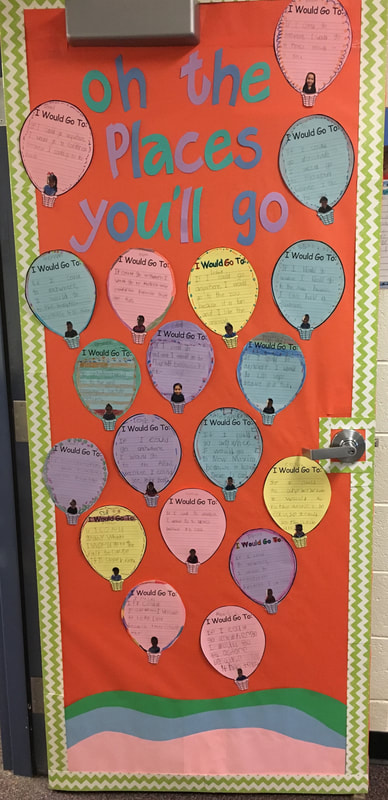 For the contest, our decorations have to be student-made, so I had my students write where they would like to go on a hot air balloon. Then, I printed out their pictures to put in the baskets. Click on the picture below to download the template for free! (I printed each page on colored cardstock)  I love Read Across America Week!! :)  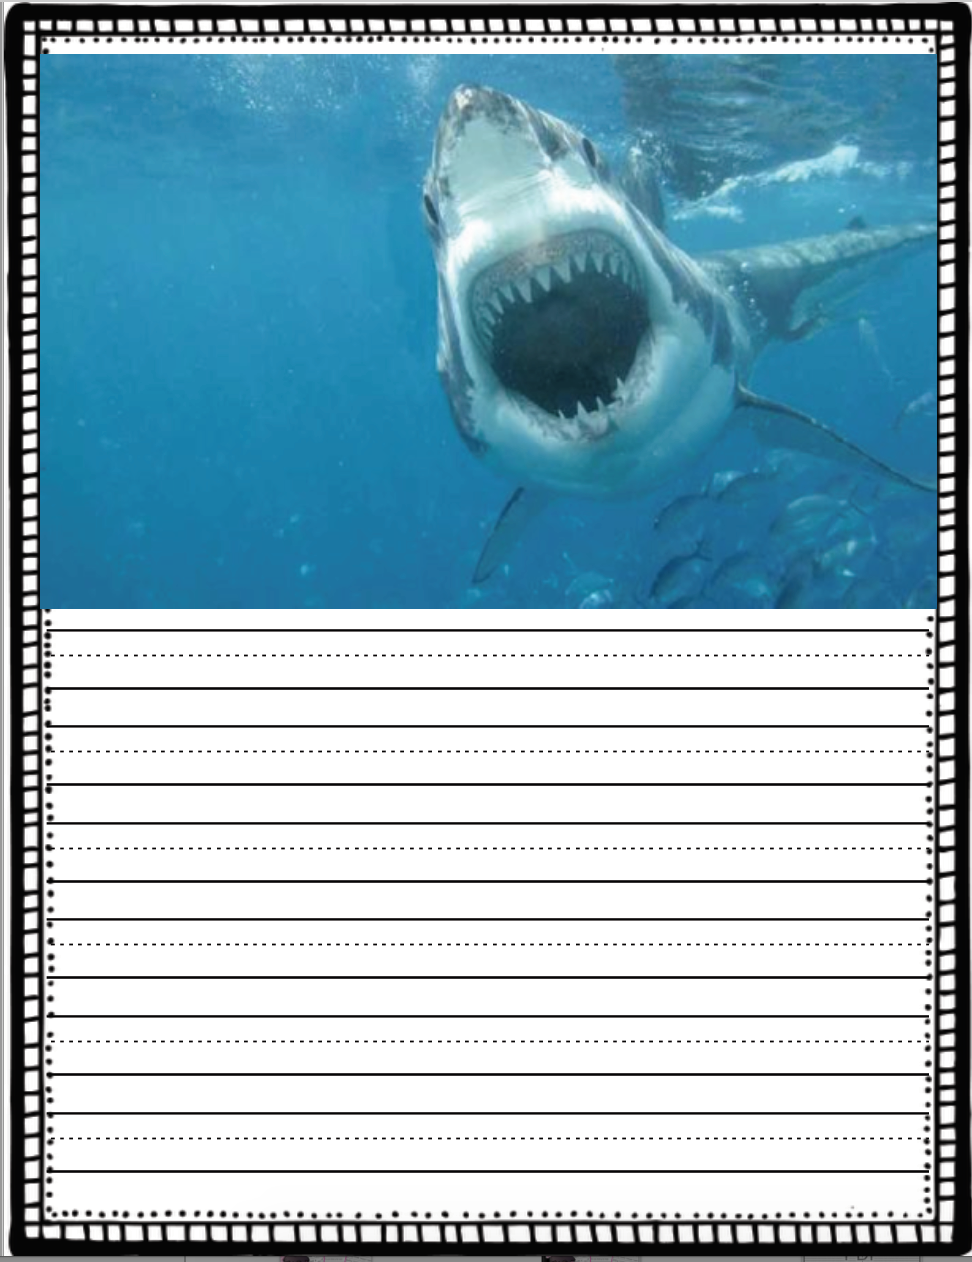 For the AZELLA (Arizona's English Proficiency Assessment) the students must ask questions about a picture and describe a picture in complete sentences. In order to help them practice, I have created picture writing prompts. For these, I first display the picture to the class. I have them share questions with partners to ask about the picture, and then I have a few students share with the class. This helps my students build their oral language skills, and it helps them practice using more details in their writing. We have been learning about ocean animals, so my students really enjoyed writing what they knew about each animal in the pictures :) 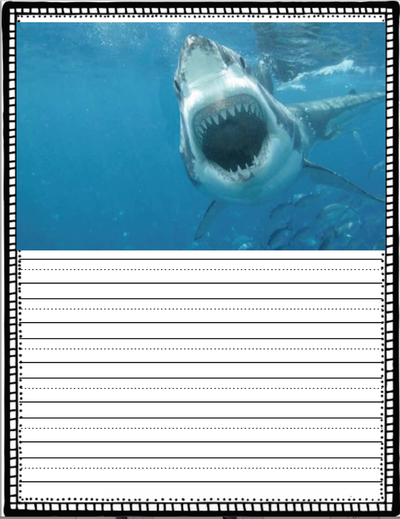 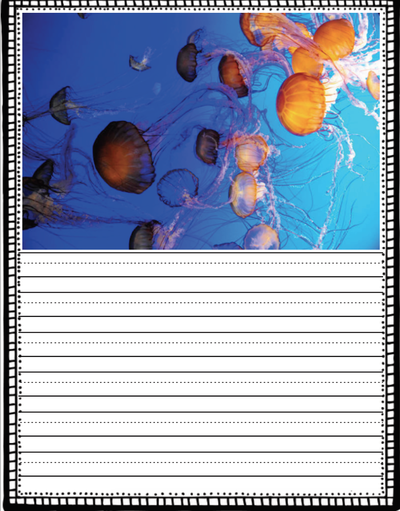 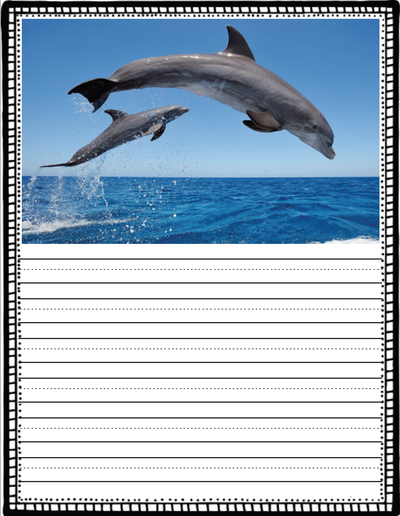 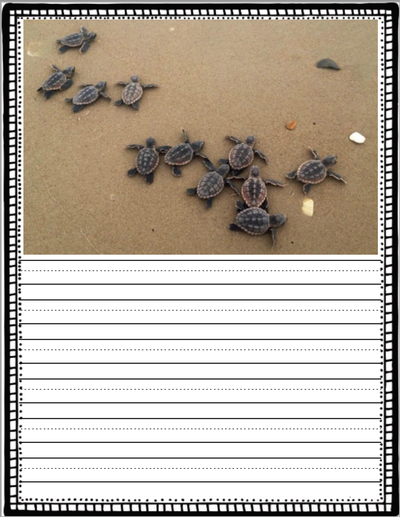 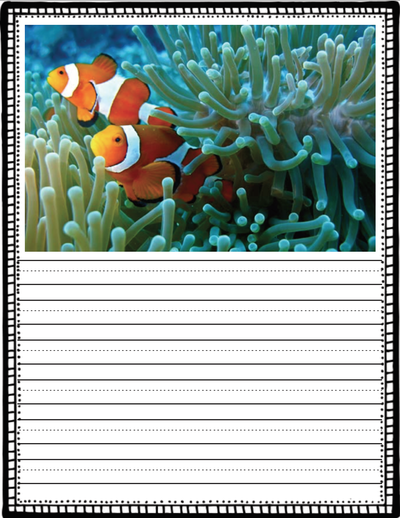 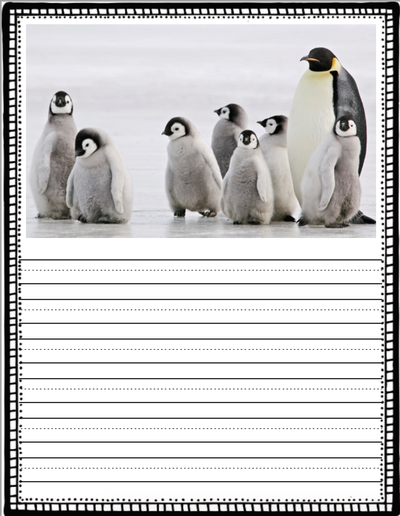 For the second half of the year, our school has wanted us to put a large focus on comprehension strategies for informational texts. I wanted to make a graphic organizer to help my students remember the information they learned from the nonfiction texts. Since we have started using this graphic organizer, my students have shown so much growth with their nonfiction comprehension skills. I am so proud of their hard work! 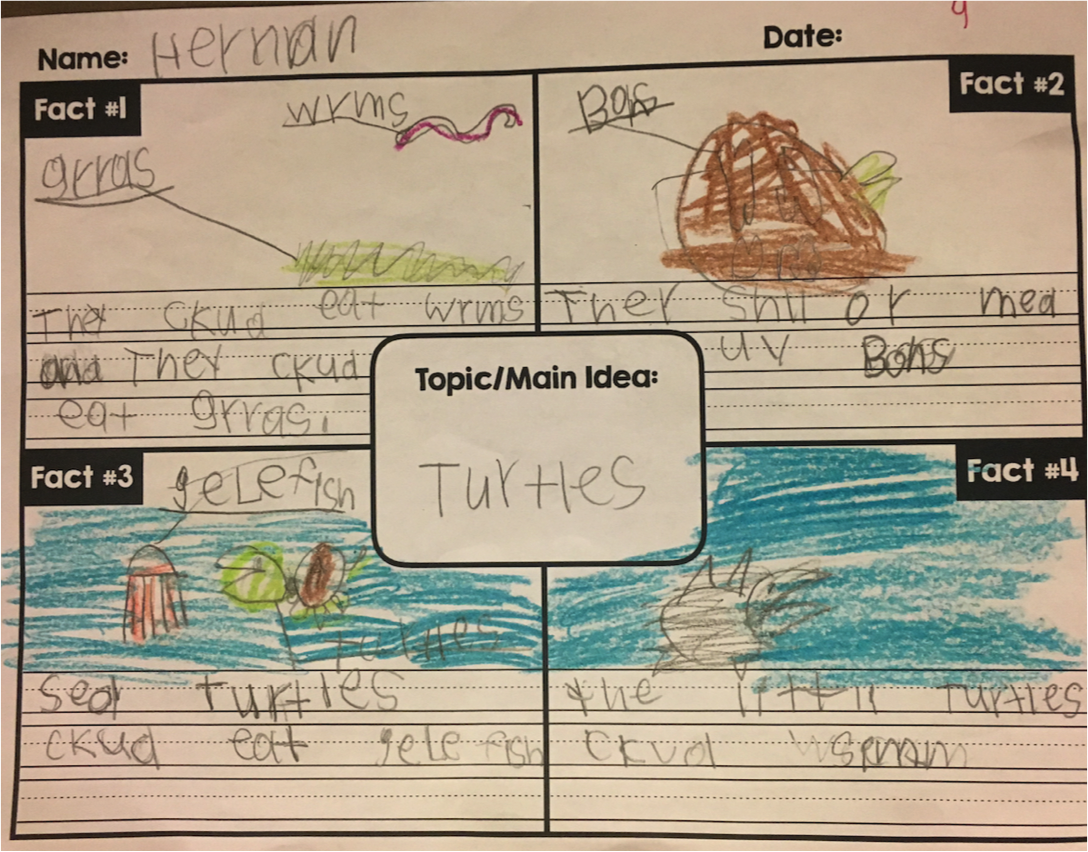 For each box, I ask my students to draw a picture of something they learned, and then label the pictures. Then, they have a space to write each of the things they have learned from the text. **Having a space available for my students to draw a picture makes it so that all of my students are able to share what they have learned, even if they are not able to write in complete sentences or spell some of the words.** Click on the picture below to get this freebie for your classroom! :) 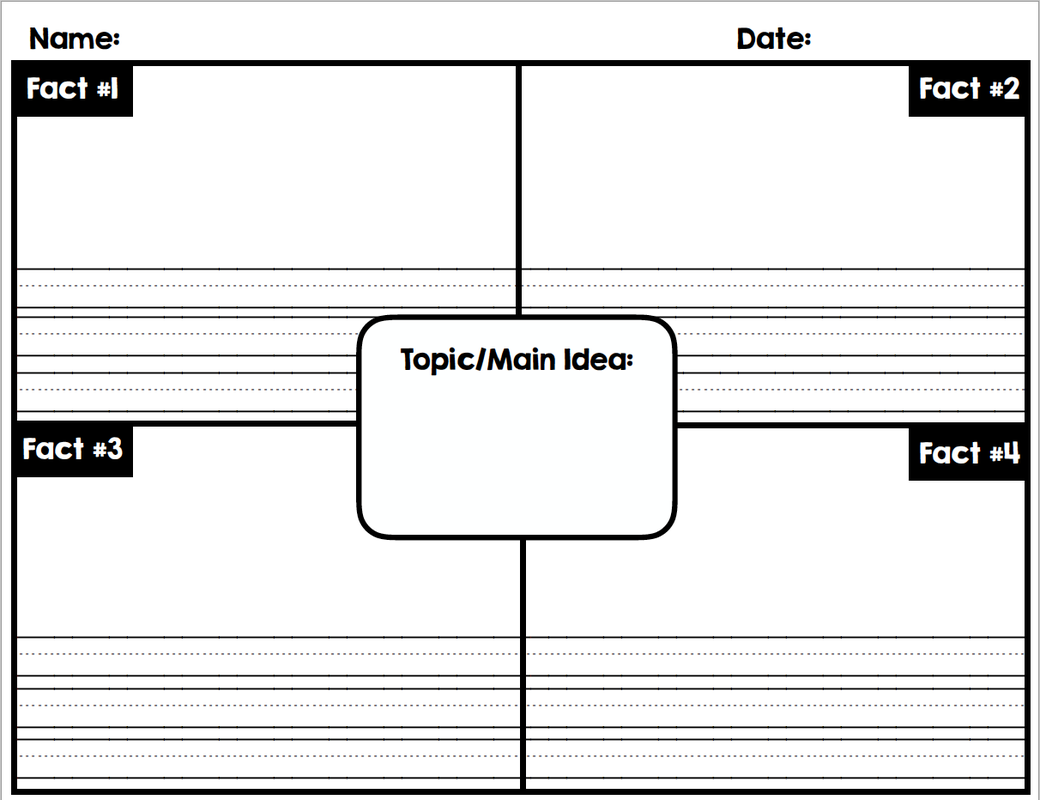 We have had so much fun with the Elf on the Shelf this year! Another first grade teacher and I decided to trick our students by taking pictures of our elves playing together around campus. Our students could barely contain their excitement when they saw the pictures we posted of the elves around our classrooms. They couldn't believe that Sprinkles (our elf) became friends with another elf at our school. It was a fun way to bring our classes together before winter break :) |
AuthorMy name is Paige. I taught first grade in Arizona for 3 years and am currently in my 6th year of teaching Kindergarten in California. I love creating engaging activities to do with my students! I hope you find these activities to be just as much fun to do with your class! Categories
All
|


 RSS Feed
